


 下载插件并导入HBuilderX
 下载插件ZIP
 赞赏(0)
赞赏(0)
更新记录
v2(2023-10-26) 下载此版本
修改引入js方式引起的bug
v1(2023-05-25) 下载此版本
初始版本
平台兼容性
uni-app
| Vue2 | Vue3 | Chrome | Safari | app-vue | app-nvue | Android | iOS | 鸿蒙 |
|---|---|---|---|---|---|---|---|---|
| √ | √ | √ | √ | √ | - | - | - | - |
| 微信小程序 | 支付宝小程序 | 抖音小程序 | 百度小程序 | 快手小程序 | 京东小程序 | 鸿蒙元服务 | QQ小程序 | 飞书小程序 | 小红书小程序 | 快应用-华为 | 快应用-联盟 |
|---|---|---|---|---|---|---|---|---|---|---|---|
| - | - | - | - | - | - | - | - | - | - | - | - |
其他
| 多语言 | 暗黑模式 | 宽屏模式 |
|---|---|---|
| × | × | √ |
# 使用教程
1、将示例component目录下文件拷贝到你的项目目录下

2、在页面引入组件
示例代码
<template>
    <view class="content">
        <view class="cu-item">
            <button @click="handleScan()">
                扫一扫
            </button>
        </view>
        <view class="result-padding">
            <text>扫码结果:</text>
            <text class="text-msg">{{msg}}</text>
        </view>
    </view>
</template>
<script>
    import {
        toScanCode
    } from '@/pages/component/scan'
    export default {
        data() {
            return {
                title: 'Hello',
                msg: ''
            }
        },
        methods: {
            handleScan() {
                toScanCode({
                    onlyFromCamera: true // 只允许通过相机扫码
                }).then(res => {
                    this.msg = res
                    console.log(res)
                })
            }
        }
    }
</script>
<style>
    .cu-item {
        margin-top: 30px;
    }
    .result-padding {
        padding: 15px 10px;
    }
</style>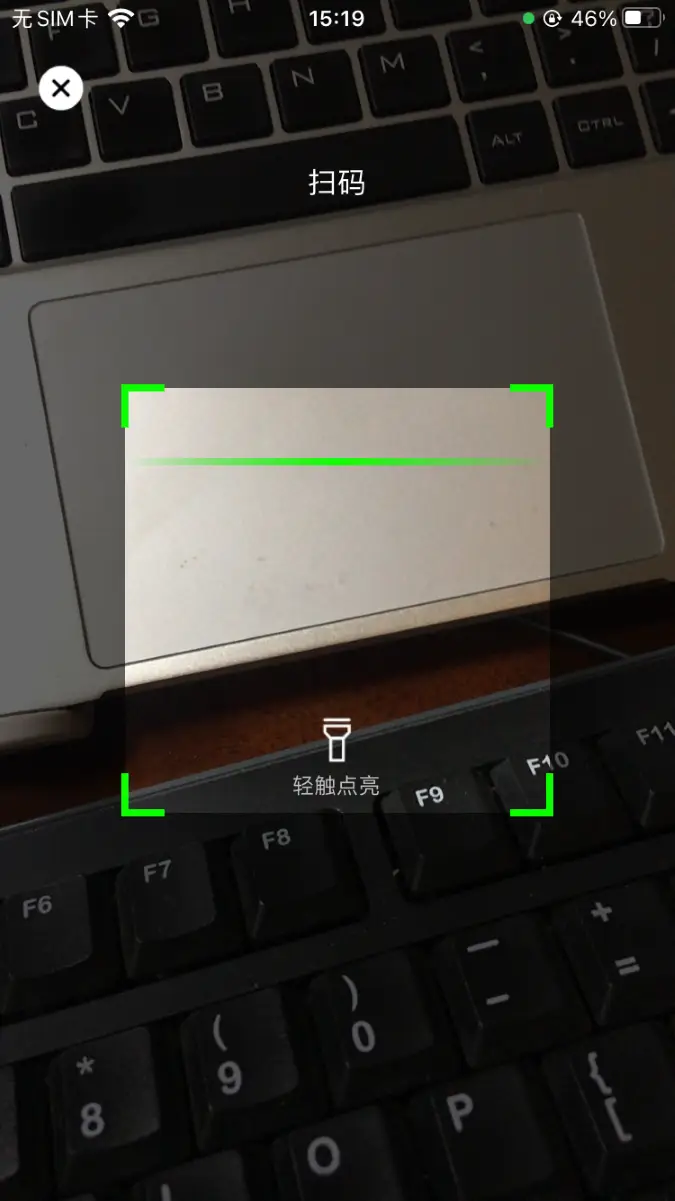
 下载 4895
 赞赏 0
赞赏 0

 下载 12436670
 赞赏 1934


 赞赏
赞赏
 京公网安备:11010802035340号