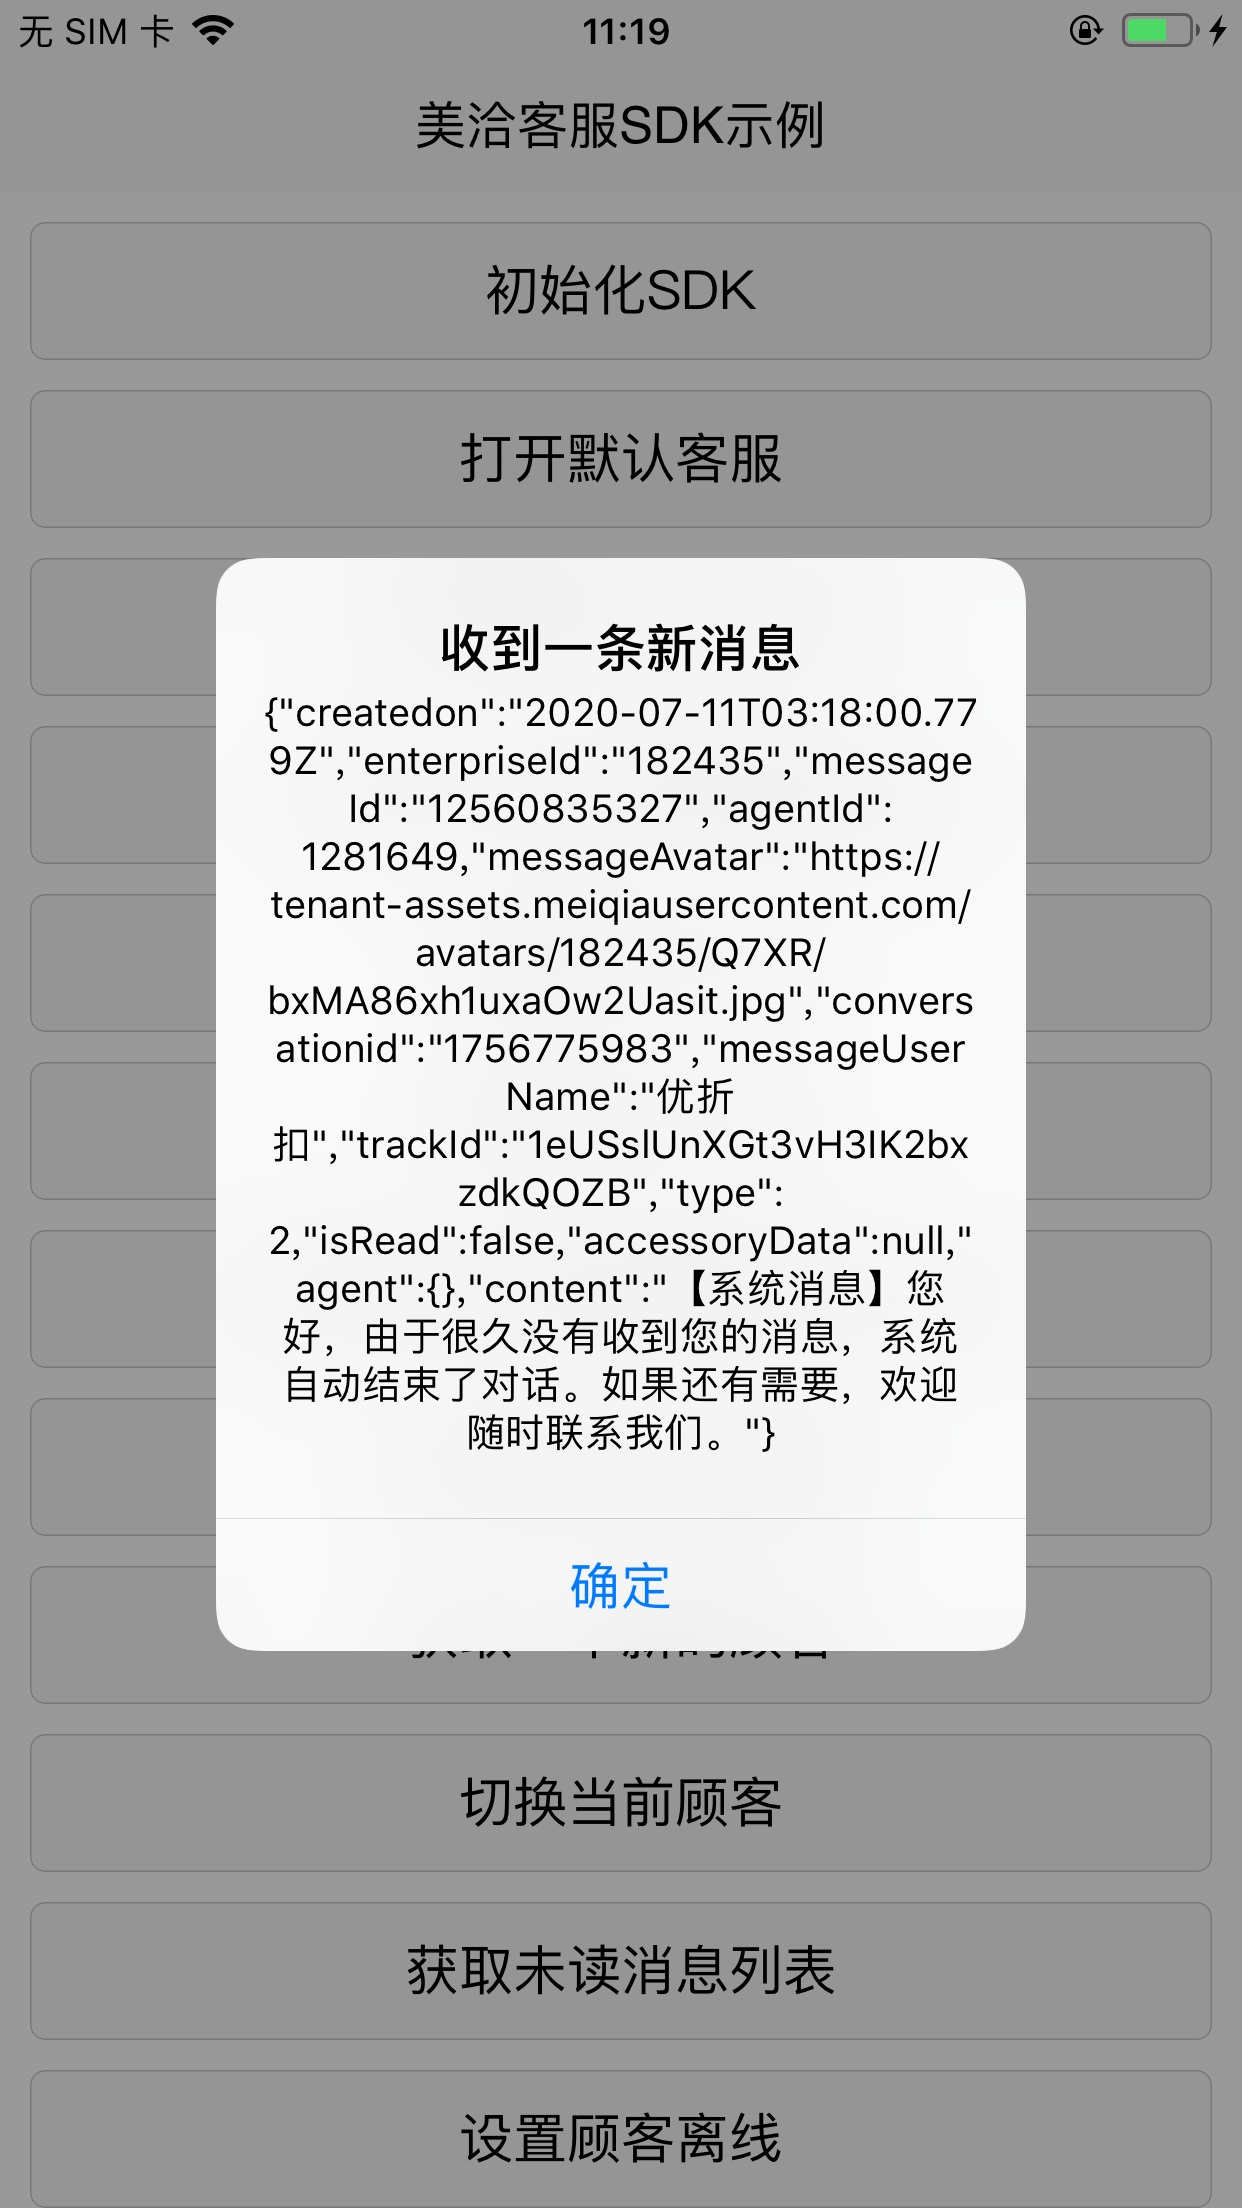
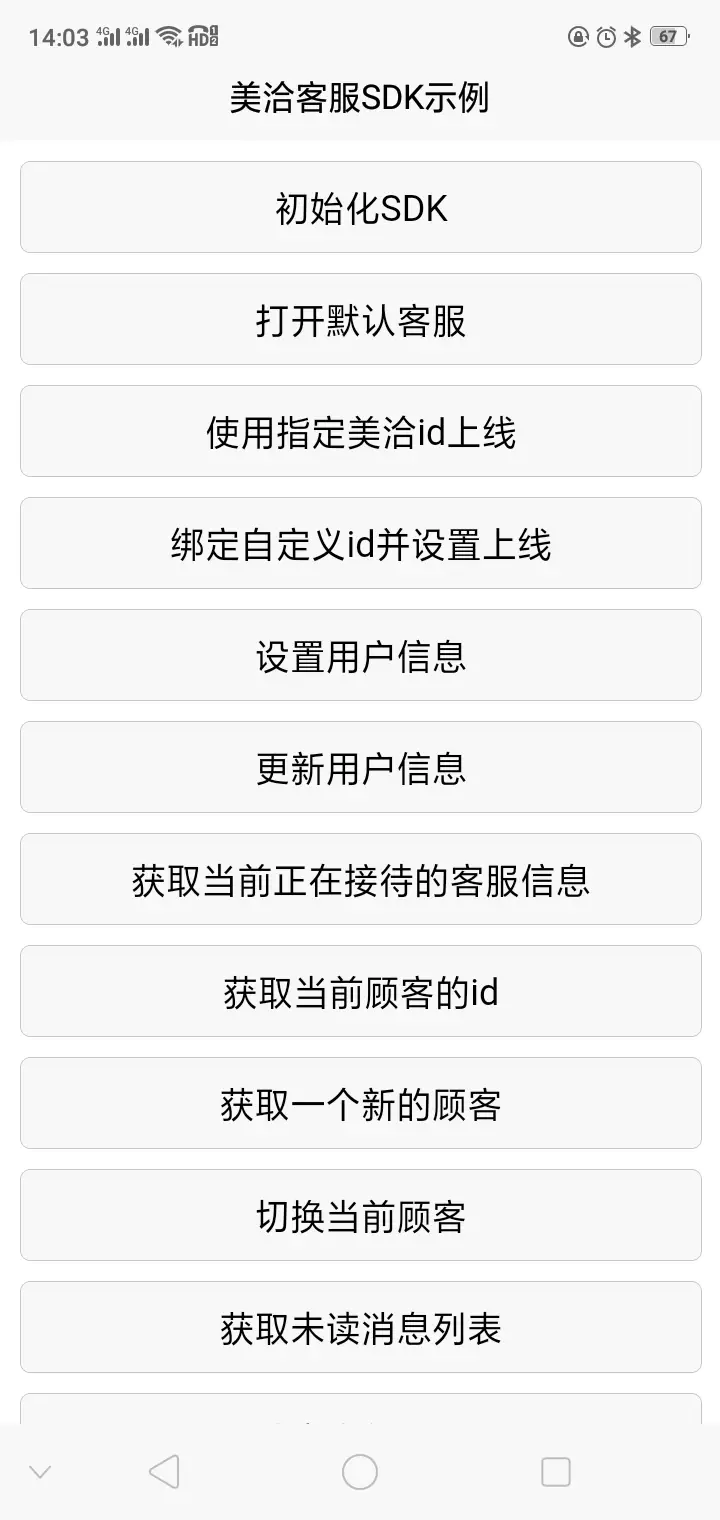
更新记录
1.0.6(2021-11-29)
iOS更新至v3.7.8,android更新至v3.7.6
1.0.5(2020-12-02)
1.同步官网更新安卓v3.6.4,苹果v3.6.5
1.0.4(2020-11-02)
1.修复bug
查看更多平台兼容性
| Android | Android CPU类型 | iOS |
|---|---|---|
| 适用版本区间:4.4 - 10.0 | armeabi-v7a:未测试,arm64-v8a:未测试,x86:未测试 | 适用版本区间:9 - 14 |
原生插件通用使用流程:
- 购买插件,选择该插件绑定的项目。
- 在HBuilderX里找到项目,在manifest的app原生插件配置中勾选模块,如需要填写参数则参考插件作者的文档添加。
- 根据插件作者的提供的文档开发代码,在代码中引用插件,调用插件功能。
- 打包自定义基座,选择插件,得到自定义基座,然后运行时选择自定义基座,进行log输出测试。
- 开发完毕后正式云打包
付费原生插件目前不支持离线打包。
Android 离线打包原生插件另见文档 https://nativesupport.dcloud.net.cn/NativePlugin/offline_package/android
iOS 离线打包原生插件另见文档 https://nativesupport.dcloud.net.cn/NativePlugin/offline_package/ios
注意事项:使用HBuilderX2.7.14以下版本,如果同一插件且同一appid下购买并绑定了多个包名,提交云打包界面提示包名绑定不一致时,需要在HBuilderX项目中manifest.json->“App原生插件配置”->”云端插件“列表中删除该插件重新选择
在使用插件中出现任何问题可以通过邮箱:hkeda@.com,或者:***与我联系
安卓demo
链接: https://pan.baidu.com/s/1drKUbZ3UFBjaJCH_0zgX0w 密码: 4kiv
一、准备事项
1.到美洽官网注册账号https://www.meiqia.com,登录后点击设置->SDK->查看***
2.勾选云端插件后输入***,即可进行云打包
二、插件接口
| 方法名 | 说明 |
|---|---|
| init() | 初始化SDK |
| open() | 打开客服聊天界面 |
| ***() | 使用指定美洽顾客id 上线 |
| ***() | 绑定自定义顾客id并设置上线 |
| ***() | 设置用户信息 |
| ***() | 更新用户信息 |
| getCurrentAgent() | 获取当前正在接待的客服信息 |
| getCurrentClientId() | 获取当前顾客的 id |
| createMQClient | 获取一个新的顾客id |
| setCurrentClient | 切换当前顾客 |
| getUnreadMessages | 获取未读消息数 |
| endCurrentConversation | 结束当前对话 |
| setClientOffline | 设置顾客离线 |
| openMessage | 启动留言表单界面 |
| setChatViewStyle | 自定义UI(IOS有效) |
| setConfig | 配置美洽 |
| getMeiqiaSDKVersion | 获取美洽SDK版本 |
| openMeiqiaService | 打开美洽服务 |
| closeMeiqiaService | 关闭美洽服务 |
| registerReceiver | 注册消息监听(新增) |
| unregisterReceiver | 取消消息监听(新增) |
实例化插件 ,在需要用到插件的页面引入
const plug= uni.requireNativePlugin('UZK-MeiQiaSdk');1.初始化美洽SDK , 传入参数: 无
plug.init(res=>{console.log(JSON.stringify(res));}); 2.注册消息监听
plug.registerReceiver(res=>{console.log(JSON.stringify(res));}); - 收到新消息的时候可以在回调中获取到消息内容

3.取消注册消息监听
plug.unregisterReceiver(); - 取消后将收不到新消息的回调
4.打开默认客服聊天界面
plug.open() - 打开带有预发送消息的聊天界面
plug.open({message:"预发送的消息内容"})- 使用指定的美洽顾客ID并上线
plug.open({clientId:"1cTqT1MvNaxwOoSBK26vtUkvreh"})- 使用自定义的美洽ID并上线
plug({customizedId:"hkeda@***.com",})- 使用指定的客服ID并上线
plug.open({agentId:"",})- 使用指定的客服组并上线
plug.open({groupId:""})- 设置顾客的自定义信息并上线
plug.open({
  info:{
    name:"我是name",
    gender:"男",
    age:"30",
    tel:"",
    weixin:"hhkeda",
    weibo:"hked@***.com",
    address:"我是地址",
    email:"hkeda@***.com",
    avatar:"https://wwc.alicdn.com/avatar/getAvatar.do?userIdStrV2=s6ZYqCmVK-8VKDGCvaCDgNTT",
    tags:"我是标签",
    source:"我是来源",
    comment:"我是备注"
  }
})
以上参数如有需要可以自由组合使用。
以下字段是美洽定义好的,开发者可通过上方提到的接口,直接对下方的字段进行设置:
| Key | 说明 |
|---|---|
| name | 真实姓名 |
| gender | 性别 |
| age | 年龄 |
| tel | 电话 |
| weixin | 微信 |
| 微博 | |
| address | 地址 |
| 邮件 | |
| 微博 | |
| avatar | 头像 URL |
| tags | 标签,数组形式,且必须是企业中已经存在的标签 |
| source | 顾客来源 |
| comment | 备注 |
5.使用指定美洽顾客id并上线
plug.***({clientId:""})6.使用自定义的ID并上线
plug.***({customizedId:"hkeda@***.com"})7.设置用户信息
plug.***({
  info:{
    name:"我是name",
    gender:"男",
    age:"30",
    tel:"",
    ...
    ...
    ...
    ...
   }
})
以下字段是美洽定义好的,开发者可通过上方提到的接口,直接对下方的字段进行设置:
| Key | 说明 |
|---|---|
| name | 真实姓名 |
| gender | 性别 |
| age | 年龄 |
| tel | 电话 |
| weixin | 微信 |
| 微博 | |
| address | 地址 |
| 邮件 | |
| 微博 | |
| avatar | 头像 URL |
| tags | 标签,数组形式,且必须是企业中已经存在的标签 |
| source | 顾客来源 |
| comment | 备注 |
8.更新用户信息
plug.***({
  info:{
    name:"我是name",
    gender:"男",
    age:"30",
    tel:"",
    ...
    ...
    ...
    ...
   }
})
以下字段是美洽定义好的,开发者可通过上方提到的接口,直接对下方的字段进行设置:
| Key | 说明 |
|---|---|
| name | 真实姓名 |
| gender | 性别 |
| age | 年龄 |
| tel | 电话 |
| weixin | 微信 |
| 微博 | |
| address | 地址 |
| 邮件 | |
| 微博 | |
| avatar | 头像 URL |
| tags | 标签,数组形式,且必须是企业中已经存在的标签 |
| source | 顾客来源 |
| comment | 备注 |
9.获取当前正在接待的客服信息
plug.getCurrentAgent(res=>{
    console.log(JSON.stringify(res));
})
10.获取当前顾客的 id
plug.getCurrentClientId(res=>{
 console.log(JSON.stringify(res));
})
11.获取一个新的顾客
plug.createMQClient(res=>{
  console.log(JSON.stringify(res));
})
12.切换当前顾客
plug.setCurrentClient({
  clientIdOrCustomizedId:""
},res=>{
  console.log(JSON.stringify(res));
})
13.获取未读消息数
plug.getUnreadMessages(res=>{
   console.log(JSON.stringify(res));
})
14.结束当前对话
plug.endCurrentConversation(res=>{
   console.log(JSON.stringify(res));
})
15.设置顾客离线
plug.setClientOffline(res=>{
 console.log(JSON.stringify(res));
})
16.启动留言表单界面
plug.openMessage()17.自定义UI(只在IOS端有效)
plug.setChatViewStyle({
  incomingMsgTextColor:"#666666",//左边消息文字颜色
  navBarColor:"#0000ff",//顶部标题栏背景色
  navBarTintColor:"#ffffff",//返回按钮颜色
  backgroundColor:"#ffffff",//聊天界面背景色
  outgoingBubbleColor:"#666666",//右边消息气泡颜色
  incomingBubbleColor:"#1E90FF",//左边消息气泡颜色
  outgoingMsgTextColor:"#1E90FF",//右边消息文字颜色
},res=>{
console.log(JSON.stringify(res));
})
安卓端通过修改插件目录下的colors.xml文件来实现自定义UI,修改成功后要重新打包才生效。
18.配置美洽
plug.setConfig({
  isVoiceSwitchOpen:true,//是否开启语音功能
  isSoundSwitchOpen:true,//是否开启声音提示
  isShowClientAvatar:true,//是否显示客户头像
  isIncomingAvatar:true,//是否显示客服头像(只在ios有效)
  enableEvaluationButton:true,//是否评价按钮(只在ios有效)
  isRoundAvatar:true,//是否显示圆形头像(只在ios有效)
},res=>{
  console.log(JSON.stringify(res));
})
19.获取美洽SDK版本
plug.getMeiqiaSDKVersion(res=>{
 console.log(JSON.stringify(res));
})
20.开启美洽服务
plug.openMeiqiaService(res=>{
console.log(JSON.stringify(res));
})
21.关闭美洽服务
plug.closeMeiqiaService(res=>{
 console.log(JSON.stringify(res));
})

 收藏人数:
收藏人数:
 购买(
购买( 试用
试用
 使用 HBuilderX 导入示例项目
 赞赏(0)
赞赏(0)


 下载 3561
 赞赏 2
赞赏 2

 下载 12770


 赞赏
赞赏

 京公网安备:11010802035340号